

You have an idea, an AI coding tool, and zero computer science background. The first 80% of the app comes together in a weekend. Then everything stalls. Bugs multiply, deployment feels like defusing a bomb, and the gap between a working prototype and a shipped product starts to look uncrossable. This guide walks you through every step from first concept to live launch so that gap closes for good.
Photo by Eduardo Rosas from Pexels
TL;DR:- Non-engineers can ship AI-assisted apps by following a clear sequence: nail the concept, prototype fast, test ruthlessly, then deploy with a checklist.
- The biggest killers are skipping validation, ignoring error handling, and treating "it works on my machine" as launch-ready.
- A structured process turns weekend hacks into products people actually pay for.
The short answer first
Shipping an AI-assisted app without an engineering degree is not a fantasy. Thousands of founders, designers, and domain experts do it every month using tools like Cursor, Claude, Lovable, and v0. The trick is not writing better prompts. The trick is following the same disciplined sequence that professional developers use, adapted for the way AI-assisted building actually works. You start with a tight concept, build a throwaway prototype, validate it with real users, harden the code, and deploy through a repeatable pipeline. Skip any step and you join the graveyard of apps that "almost worked." Follow all of them and you ship something real.
That number is not random. Most AI-assisted projects die between prototype and production because the builder runs out of engineering knowledge at exactly the wrong moment. The steps below exist to prevent that.
Ideation and planning

Every shipped app starts with a concept tight enough to fit in one sentence. "An app that helps freelance photographers send invoices in under 60 seconds" is tight. "An AI platform for creative professionals" is not. The tighter the concept, the better your AI coding tool performs, because you can give it specific, bounded instructions instead of vague wishes.
Here is what to lock down before you write a single prompt:
- One-sentence problem statement. Who has the problem, what is the problem, and why existing solutions fail.
- Core user flow. The three to five screens or steps a user walks through to get value. Sketch them on paper or in Excalidraw.
- Tech stack decision. For most non-engineers, this means a web app built with Next.js or a similar framework, deployed on Vercel or Netlify. Pick one stack and stick with it.
- Scope boundary. Write down what the app does NOT do. This list matters more than the feature list because AI tools will happily generate features you never asked for.
Skipping planning is the single most expensive mistake. A vague concept leads to vague prompts, which lead to sprawling code that nobody, including the AI, can debug later.
Prototyping your app

The prototype phase is where AI shines brightest. Tools like Cursor, Lovable, and v0 can generate a working UI from a description in minutes. The goal here is speed, not perfection. You want a clickable thing that proves the core flow works.
Practical prototyping workflow:
- Start with the core user flow you sketched during planning. Feed it to your AI tool one screen at a time.
- Use a component library like shadcn/ui or Chakra UI. AI tools generate cleaner code when they have a known component set to work with.
- Commit to Git after every working change. Even if you have never used Git before, learn
git add,git commit, andgit push. Three commands. They save you from losing hours of work when the AI generates something that breaks everything. - Keep each AI prompt focused on one task. "Add a login form with email and password fields" works. "Build the entire authentication system with social login, password reset, and role-based access" does not.
AI-assisted prototyping is roughly 5x faster than manual coding for standard CRUD apps. But speed creates a trap: you start believing the prototype IS the product. It is not. The prototype proves the idea. The next phases turn it into something that survives contact with real users.
"How to ship your AI app in 2026 🚀>
Although building software is easier than ever, most AI projects still stall halfway through.">, Ship AI Apps in 5 Steps: Claude, MVP, and Tech Stack
Testing and iteration
This is where non-engineers lose the most time, because testing feels like busywork until the app breaks in production. Here is the minimum testing bar for a shipped app:
- Manual smoke test. Walk through every screen. Click every button. Submit every form with valid data, invalid data, and empty data. If the app crashes on empty data, it is not ready.
- Error handling. Every API call needs a fallback for when the server does not respond. Ask your AI tool: "Add error handling and loading states to all fetch calls in this component."
- Edge cases. What happens when a user uploads a 50MB file? What happens when two users edit the same record? What happens on a slow 3G connection? Test these manually or ask the AI to add guards.
- Cross-browser check. Open the app in Chrome, Firefox, and Safari. Open it on your phone. Fix layout breaks before launch.
A surprising number of production bugs come from forms that accept blank or malformed input. One round of empty-field testing catches nearly half of them.
Iteration loop: After each round of testing, collect the bugs into a list. Feed them to your AI tool one at a time. Verify each fix before moving to the next bug. Batch-fixing creates tangled code that is harder to debug later.
The development process at a glance
This diagram shows the full sequence from idea to shipped product. Each step feeds into the next, and skipping any one of them creates risk downstream.
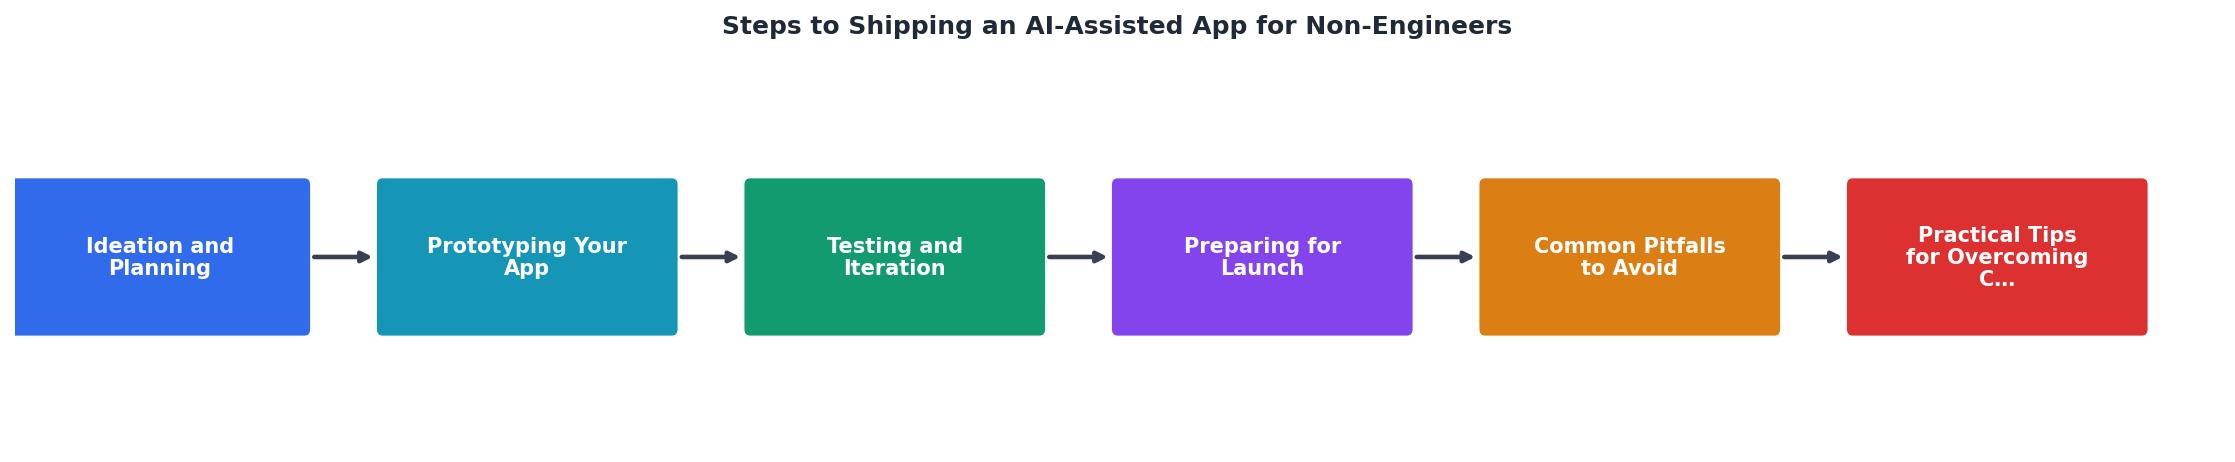
The steps in the diagram: Ideate, Prototype, Test, Harden, Deploy, Monitor. Notice that "Harden" sits between testing and deployment. That is the step most non-engineers skip entirely, and it is the one that determines whether your app survives its first week live.
Hardening means:- Adding input validation on both client and server
- Setting up proper environment variables (no API keys in the code)
- Enabling HTTPS
- Adding rate limiting to public endpoints
- Writing a basic backup strategy for your database
Preparing for launch

Deployment is where the rubber meets the road. For non-engineers, the simplest path is a platform that handles infrastructure for you:
- Vercel for Next.js apps. Push to Git, it deploys automatically.
- Netlify for static sites and serverless functions.
- Railway or Render for apps that need a persistent backend or database.
- Supabase or PlanetScale for managed databases.
- Set up a custom domain. A
.vercel.appURL signals "side project," not "product." - Configure environment variables in your hosting platform. Never hardcode secrets.
- Set up basic monitoring. Vercel Analytics, LogRocket, or even a simple health-check endpoint that pings you when the app goes down.
- Create a landing page or waitlist if you are launching to a broader audience. Tools like Carrd or a simple Next.js page work fine.
- Prepare a rollback plan. Know how to revert to the previous deployment if something breaks.
Common pitfalls to avoid
Here are the mistakes that kill AI-assisted apps most often, ranked by how frequently they appear:
- No version control. Without Git, one bad AI generation can erase hours of work. There is no undo button.
- Scope creep via prompts. You ask the AI to "also add" one more feature, then another, then another. The codebase becomes a tangle that neither you nor the AI can navigate.
- Ignoring security basics. Exposed API keys, no input sanitization, no authentication on admin routes. These are not theoretical risks. Bots scan for them within hours of deployment.
- Skipping the hardening step. The app works in development but crashes under real traffic, real data, or real edge cases.
- Building in isolation. No user feedback until launch day. By then, you have built the wrong thing.
| Pitfall | What happens | Fix |
|---|---|---|
| No Git | Lost work, no rollback | Learn 3 Git commands |
| Scope creep | Unmaintainable code | Stick to the one-page brief |
| Exposed secrets | API keys stolen, bills spike | Use environment variables |
| No testing | Crashes on launch day | Manual smoke test every feature |
| No user feedback | Wrong product shipped | Share prototype at 50% done |
Overcoming technical obstacles
When you hit a wall, and you will, here is the playbook:
- "The AI generated code I don't understand." Ask the AI to explain it line by line. If the explanation does not make sense, ask it to rewrite the code in a simpler way. Simpler code is almost always better code.
- "The app works locally but not in production." Nine times out of ten, this is an environment variable issue. Check that every secret and config value exists in your hosting platform's settings.
- "I broke something and can't undo it." This is why Git exists. Run
git logto find the last working commit, thengit checkoutto restore it. Practice this before you need it. - "The database is slow or losing data." Use a managed database service. Do not self-host PostgreSQL on a $5 VPS unless you know what you are doing.
- "I need a feature the AI can't build." This is the moment to hire a freelance developer for a few hours, not to abandon the project. Platforms like Upwork and Toptal have developers who specialize in cleaning up AI-generated codebases.
Real-world success stories
Non-engineers shipping AI-assisted apps is not a future trend. It is happening now:
- Pieter Levels built and launched multiple profitable SaaS products (NomadList, RemoteOK, PhotoAI) as a solo non-traditional developer, using rapid prototyping and iterative deployment. His approach mirrors the Ideate-Prototype-Test-Ship loop described above.
- Indie hackers on Product Hunt regularly launch AI-assisted tools built with Cursor and Lovable. Many of these reach hundreds of paying users within weeks of launch. The common thread: tight scope, fast iteration, and early user feedback.
- Domain experts in healthcare, legal, and finance are building internal tools with AI assistance that would have required a full development team two years ago. A lawyer building a contract review tool. A doctor building a patient intake form. These are real products solving real problems.
Typical Non-Engineer Ship Timeline
Three weeks from idea to launch is realistic for a focused, single-feature app. Larger projects take longer, but the sequence stays the same.
For strategies on growing beyond the first launch, see the article on shipping AI software at scale.
AI-Assisted App Shipping Checklist
Your progress is saved automatically in your browser.
FAQ
Frequently Asked Questions
What step in the process feels most intimidating to you right now? Drop it in the comments and let's figure it out together.
Additional Resources
- Ship AI Apps in 5 Steps: Claude, MVP, and Tech Stack - Step 1: Have an idea While. Step 2: Scope the MVP Another. Step 3: List key steps Once
- Lessons in AI-Assisted Coding from a Non-Engineer - Evolve the apps and learn how to deploy them into the app store
- What is the easiest way to deploy AI-built apps? | Blog - One of the easiest ways to deploy an AI-built app is to connect your Git repository to a platform that handles the build, infrastructure, ...