
Six months ago you had an app idea. You opened Cursor, typed a prompt, and watched working code appear on screen. Then you tried to add payments, fix a login bug, and deploy to production. Everything broke. You are not alone, and the gap between a working prototype and a shipped product is exactly where vibe coding gets interesting for people without a CS degree.
Photo by Bibek ghosh from Pexels
TL;DR:- Vibe coding lets non-coders build real software by describing what they want in plain language to AI tools like Cursor, Claude, and Lovable.
- Start with a single, small project. Pick one AI coding tool, learn its feedback loop, and ship something live within two weeks.
- The 80% that AI generates is the easy part. The remaining 20% (security, deployment, error handling) is where you need a structured approach, not more prompts.
Why Vibe Coding Matters Right Now
Two years ago, building a SaaS product required either hiring a developer or spending months learning JavaScript. That barrier collapsed. Tools like Cursor, Claude Code, Lovable, and v0 turned natural language into functional applications. Non-coders are shipping invoice trackers, booking platforms, and internal dashboards without writing a single line of code by hand.
The shift is not theoretical. Indie hackers, founders, designers, and product managers are building production apps today. But speed creates a trap: the faster you build, the faster you accumulate problems you do not understand. Vibe coding done well means knowing where AI stops and your judgment starts.
That progress bar tells the real story. AI gets you to 80% fast. The last 20% is deployment, authentication, error handling, and security. That gap is where projects die or succeed.
Common Mistakes That Kill Projects
Here is what goes wrong for most non-coders who start vibe coding without a plan:
- Prompt-and-pray development. You keep asking the AI to "fix it" without understanding what broke. Each fix introduces two new bugs. After a dozen rounds, the codebase is a mess nobody can untangle.
- Skipping version control. No Git, no backups. One bad prompt wipes out a working feature, and there is no way back.
- Ignoring security from day one. AI-generated code often stores API keys in plain text, skips input validation, and leaves database queries open to injection. If real users touch your app, this is not optional.
- Building too big too fast. A marketplace with payments, messaging, reviews, and admin panels is not a first project. Start with one screen that does one thing.
- Never reading the generated code. You do not need to write code, but you do need to read it. Skimming the output catches obvious problems before they compound.
"Most non-coders end up needing a developer to maintain what they built.">, Best Vibe Coding Tools for Non
That quote is honest, not discouraging. The goal is to reduce how much outside help you need by building the right habits from the start.
Step-by-Step: Your First Vibe Coding Project
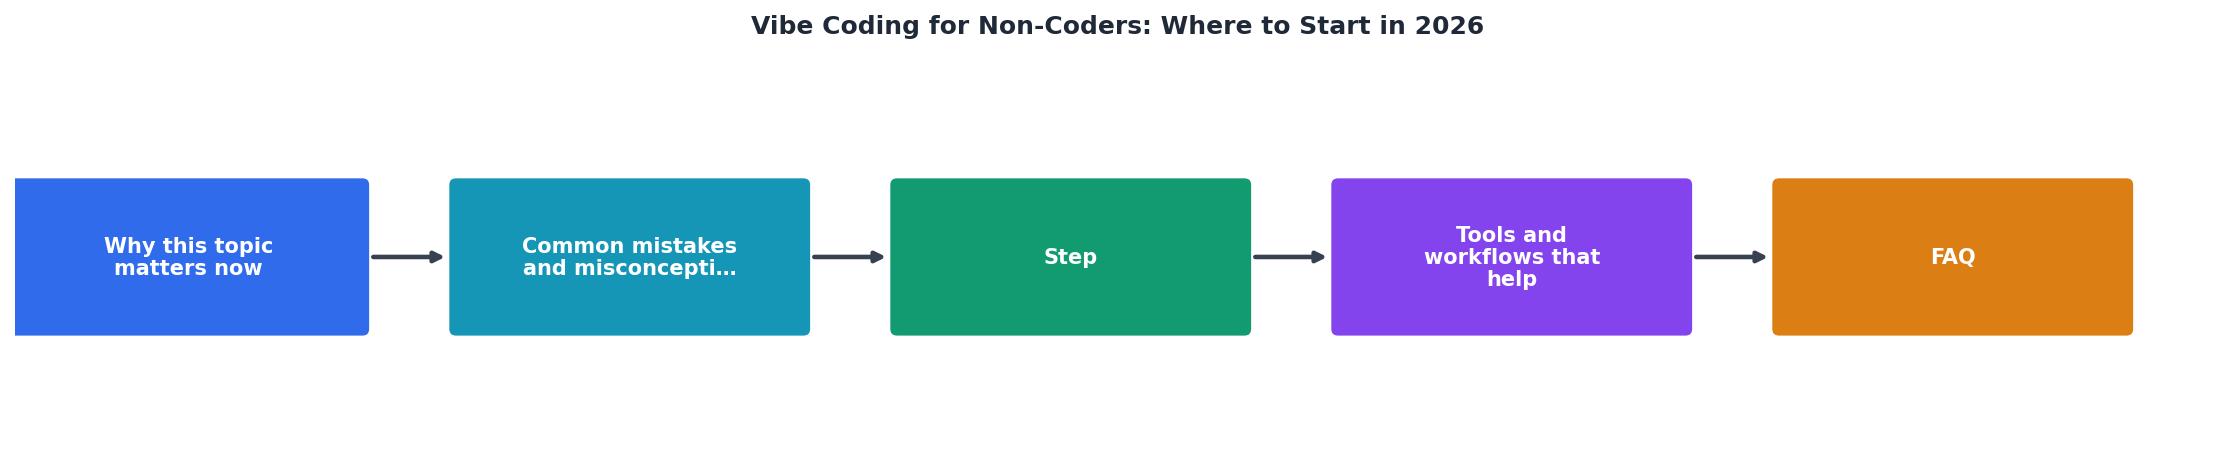
Follow these steps in order. Each one builds on the previous.
Pick one tool and stick with it
Do not bounce between Cursor, Lovable, Replit, and Claude in the same week. Each tool has its own workflow, strengths, and quirks. Pick one:
- Cursor if you want a VS Code-like editor with AI built in. Best for iterative building.
- Lovable if you want to describe a UI and get a deployed app fast. Best for landing pages and simple tools.
- Claude (via API or Claude Code) if you want a conversational partner that explains what it generates.
Define a tiny scope
Your first project should take 3 to 7 days, not 3 months. Good first projects:
- A personal expense tracker with a single table and a chart
- A landing page with an email signup form connected to a real service
- A simple quiz app that scores answers and shows results
Learn the feedback loop
The core cycle of vibe coding is: Describe what you want, Review what the AI generates, Test it in the browser, Refine with a follow-up prompt. That loop repeats dozens of times per session. Getting good at vibe coding means getting good at this loop, specifically at the Review and Refine steps.
Set up Git immediately
Even if you have never used Git, set it up on day one. GitHub Desktop makes this painless. Commit after every working change. When something breaks (it will), you roll back instead of panicking.
Deploy early
Do not wait until the app is "done." Deploy to Vercel, Netlify, or Railway on day two. Seeing your app live on a real URL changes how you think about it. You catch problems earlier. You get feedback from real people sooner.
Tools and Workflows That Help

Here is a practical stack for a non-coder shipping their first real project in 2026:
| Category | Recommended Tool | Why |
|---|---|---|
| AI Editor | Cursor | Inline AI, file context, iterative prompts |
| UI Generation | Lovable or v0 | Describe a screen, get deployable components |
| Version Control | GitHub Desktop | Visual Git without the command line |
| Deployment | Vercel | Free tier, automatic deploys from Git |
| Database | Supabase | Postgres with a dashboard, auth built in |
| AI Chat Partner | Claude | Explains code, catches mistakes, plans architecture |
A few workflow tips that save hours:
- Prompt in steps, not essays. Instead of describing your entire app in one message, break it into small requests. "Add a form with name and email fields" is better than a 500-word specification.
- Use screenshots. Cursor and Claude accept images. Show the AI what your app looks like and describe what you want changed. This eliminates ambiguity.
- Keep a prompt journal. Save prompts that worked well. When you start a new project, you already have a library of effective instructions.
Structured prompting cuts wasted iterations by roughly 60% compared to freeform "just build me an app" requests.
Building With Confidence

The difference between a toy project and a shipped product comes down to a few practices that non-coders often skip:
- Environment variables. Never paste API keys directly into code. Use
.envfiles and tell the AI to referenceprocess.env.MY_KEYinstead. - Error handling. Ask the AI explicitly: "Add error handling for network failures and invalid input." It will not do this by default.
- Basic testing. You do not need a full test suite. Ask the AI to generate 3 to 5 tests for your most important function. Run them before each deploy.
- Read the code, even if you do not write it. Spend 10 minutes per session scanning what the AI generated. Look for hardcoded values, missing error checks, and commented-out code that should not be there.
Here is a snapshot of what a typical non-coder's first-project journey looks like in terms of time allocation:
Time Allocation: First Vibe Coding Project
Notice that prompting is only 25% of the work. Reviewing and debugging take 60% combined. That ratio surprises most beginners, but it is the reality of building anything real.
Your First Vibe Coding Project Checklist
Your progress is saved automatically in your browser.
FAQ
Frequently Asked Questions
What was the first thing you tried to build with AI, and where did you get stuck? Drop your story in the comments.
Additional Resources
- Best Vibe Coding Tools for Non-Coders in 2026 - Is vibe coding good for non-coders? With the right tool, yes. With code-first tools like Replit, Bolt, or Lovable, the experience works well for ...
- How I'm Vibe Coding in 2026 - How I'm Vibe Coding in 2026. One person can now build in a day what used to take weeks. Here's my actual workflow — the tools, the mental shifts ...
- The Non-Coder's Guide to Vibe Coding - Unlock the power of no-code development with Vibe Coding, the innovative approach that lets anyone create functional apps and professional presentations ...