Bibecoding: Practical Guide
You built something with AI in a weekend. It runs on your laptop, the demo looks great, and you are ready to show the world. Then a real user hits a button you never tested, the database locks up, and you spend three days debugging code you did not write. Bibecoding is the practice of using AI coding tools to ship production-grade software without skipping the engineering steps that keep it alive after launch.


You built something with AI in a weekend. It runs on your laptop, the demo looks great, and you are ready to show the world. Then a real user hits a button you never tested, the database locks up, and you spend three days debugging code you did not write. Bibecoding is the practice of using AI coding tools to ship production-grade software without skipping the engineering steps that keep it alive after launch. This guide gives you the exact workflow, from first prompt to deployed product, so you stop guessing and start shipping with confidence.
TL;DR:- Bibecoding combines AI-assisted code generation with deliberate engineering checkpoints: spec first, generate, review, test, deploy.
- Most failures happen because builders skip the review and testing phases, not because the AI wrote bad code.
- Follow the five-step loop in this guide and you will ship faster while avoiding the "works on my machine" trap.
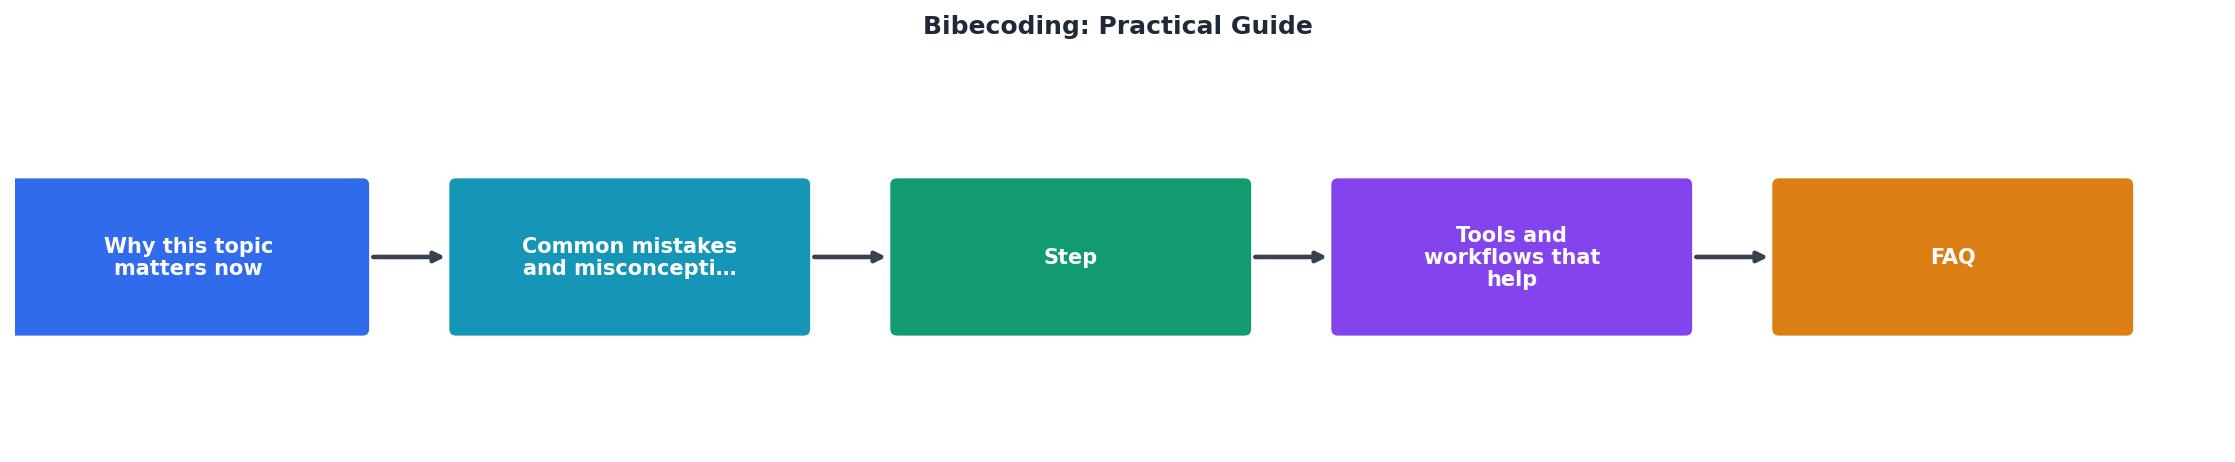
Why Bibecoding Matters Right Now
AI coding tools crossed a threshold in the last twelve months. Cursor, Claude, GitHub Copilot, Lovable, and v0 can generate entire features from a single prompt. The barrier to creating software dropped to near zero. The barrier to creating reliable software stayed exactly where it was.
That gap is where projects die. You get a working prototype in hours, push it live, and discover that the AI hallucinated an API endpoint, skipped input validation, or created a SQL query that scans every row in the table. Bibecoding closes that gap by inserting lightweight but non-negotiable checkpoints between generation and deployment.
This is not about slowing down. It is about spending ten minutes on review instead of ten hours on a post-launch fire.
Common Mistakes That Kill Projects

Before walking through the correct workflow, here are the patterns that consistently wreck AI-built projects:
- Prompt-and-pray development. You type a vague prompt, accept the first output, and move on. The AI fills gaps with assumptions you never validated. Two weeks later those assumptions surface as bugs.
- Skipping the spec. Without a written description of what the feature should do, you cannot tell whether the AI output is correct. You end up evaluating code by "does it look right?" instead of "does it match the requirement?"
- Copy-paste without reading. Large blocks of generated code land in your project untouched. You do not understand the dependencies it introduced, the error handling it skipped, or the security holes it opened.
- No tests, ever. AI can write tests for you. Asking it to do so after generating the feature takes seconds. Skipping this step means every future change is a gamble.
- Ignoring context limits. AI models lose track of your codebase when the context window fills up. You keep prompting, the model forgets earlier decisions, and the code contradicts itself.
"This was even true when I used the memory features, which were not 100% reliable.">, A Practical Guide to Getting Stuff Done with Vibe Coding
The Five-Step Bibecoding Loop

Every feature, fix, or refactor follows the same loop. The steps are short. The discipline is in never skipping one.
Step 1: Spec
Write a plain-language description of what you want. Include inputs, outputs, edge cases, and constraints. Two to five sentences is enough for a small feature. A bullet list works for larger ones.
Example spec for a signup endpoint:- Accept email and password via POST
/api/signup. - Validate email format and password length (minimum 8 characters).
- Hash the password with bcrypt before storing.
- Return 201 on success, 400 on validation failure, 409 if email exists.
Step 2: Generate
Feed the spec to your AI tool. Use Cursor, Claude, Copilot, or whichever tool fits your stack. Paste the spec verbatim. Add context about your existing codebase: framework, language version, folder structure, naming conventions.
Keep the prompt focused on one feature at a time. Smaller prompts produce more accurate output because the model has less room to hallucinate.
Step 3: Review
Read every line the AI produced. Check it against your spec. Look for:- Missing error handling
- Hardcoded secrets or credentials
- Unvalidated user input
- Dependencies you did not ask for
- Logic that contradicts your existing code
Step 4: Test
Ask the AI to generate tests for the code it just wrote. Then read those tests too. Make sure they cover the happy path, validation failures, and at least one edge case from your spec.
Run the tests locally. If they pass, you have a baseline. If they fail, you caught a bug before it reached production.
Step 5: Deploy
Push to a staging environment first. Run the full test suite. Check logs for warnings. Then promote to production. If your project does not have a staging environment yet, set one up before your next deploy. A free-tier Railway, Render, or Fly.io instance works fine.
After deploy, monitor for errors for at least 24 hours. AI-generated code sometimes passes all tests but behaves differently under real traffic patterns.
Tools and Workflows That Help

The bibecoding loop works with any AI tool. These specific combinations make it smoother:
- Cursor +
.cursorrulesfile. Define your project conventions in a rules file at the repo root. Cursor reads it on every prompt, which reduces hallucinated patterns and keeps generated code consistent with your existing style. - Claude Projects with project knowledge. Upload your spec documents and key source files as project knowledge. Claude references them across conversations, reducing context drift.
- GitHub Copilot + pre-commit hooks. Let Copilot generate code inline, then use pre-commit hooks (linting, type checking, security scanning) to catch issues before they enter version control.
- Lovable / v0 for UI prototyping. Generate the frontend fast, then extract the components into your real codebase where you apply the review and test steps.
| Without Bibecoding | With Bibecoding |
|---|---|
| Prompt, accept, ship | Spec, generate, review, test, deploy |
| Bugs found by users | Bugs found by tests |
| "It worked on my machine" | Staging environment catches issues |
| Context drift across sessions | Rules files and project knowledge |
| No test coverage | AI-generated tests reviewed by you |
BIBECODING_CHECKLIST.md in your repo root. Paste the checklist from this guide into it. Reference it before every pull request.The following dashboard shows a realistic snapshot of how the bibecoding workflow distributes your time across the five steps for a typical feature:
Time per Step (Typical Feature)
Notice that review and testing together consume over half the time. That ratio is intentional. The AI handles the generation speed; you handle the quality gate.
Putting It All Together
The entire loop fits on an index card. Spec, Generate, Review, Test, Deploy. Repeat for every feature. The first few times feel slow because you are building the habit. By the third or fourth feature, the spec step takes two minutes and the review step gets faster because you know what to look for.
If you want the full framework with detailed examples for authentication, database design, API architecture, and deployment pipelines, the Vibe Coding Bible at vibecodingbible.org covers all of it across 459 pages.
Bibecoding Pre-Ship Checklist
Your progress is saved automatically in your browser.
FAQ
Frequently Asked Questions
.cursorrules file in place, and muscle memory for the review step. That small time investment prevents multi-day debugging sessions later.What is the first feature you plan to run through the bibecoding loop? Share your spec below and let others give feedback before you start generating.
Additional Resources
- A Practical Guide to Getting Stuff Done with Vibe Coding - Vibe coding is managing the world's most capable intern who has zero context and makes wild assumptions without explicit instructions.
- A Practical Guide to Vibe Engineering | by Kamen Zhekov - Learn how to move from vibe coding to vibe engineering: a systematic workflow for AI-assisted development using coding agents
- A Complete Vibe Coding Guide for Beginners - This vibe coding guide for beginners explains how to use AI to write code, improve prompts, debug effectively, and avoid mistakes
Ready to Master Vibe Coding?
Learn to build software faster with AI assistance using the Vibe Coding Bible.
Get Started