Vibe coding resource #3: non-coder starter path
You have an idea for an app, a SaaS tool, or an internal dashboard, and you have zero programming experience. AI coding assistants like Cursor, Claude, and Lovable can generate working code from plain English descriptions, but the gap between a demo that runs on your laptop and a product people actually pay for is where most non-coders get stuck. This guide gives you the exact starter path to cross that gap without enrolling in a computer science program first.

You have an idea for an app, a SaaS tool, or an internal dashboard, and you have zero programming experience. AI coding assistants like Cursor, Claude, and Lovable can generate working code from plain English descriptions, but the gap between a demo that runs on your laptop and a product people actually pay for is where most non-coders get stuck. This guide gives you the exact starter path to cross that gap without enrolling in a computer science program first.
Photo by Markus Winkler from Pexels
TL;DR:- You do not need to learn a programming language before you start building with AI. You need to learn how to describe what you want, verify what you get, and structure your project so it does not collapse at step 50.
- Start with a single, small feature. Use an AI coding tool to generate it. Learn to read the output, test it, and iterate.
- Follow the five-phase path below: Orient, Scaffold, Build, Harden, Ship.
The non-coder advantage is real
Non-coders who vibe code bring something professional developers often lack: domain expertise. You know the problem space. You know what the user needs. You have been living inside the workflow your app is supposed to fix. That context is worth more than syntax knowledge when you are prompting an AI to write code.
The catch? Roughly 70% of AI-generated code works on the first prompt. The remaining 30% is where projects die. Broken authentication, missing error handling, database queries that return nothing, deployment configs that silently fail. The starter path below is designed to get you through that 30% without needing a CS degree.
Common mistakes that kill projects

Before the step-by-step path, here are the traps that catch almost every non-coder builder:
- Building too much at once. You describe your entire app in one massive prompt. The AI generates 2,000 lines of code. Something breaks. You have no idea where. Start with one screen, one feature, one user flow.
- Skipping version control. Every change should be saved as a snapshot. Git is not optional. Tools like GitHub Desktop make this painless without touching the command line.
- Ignoring errors you do not understand. When the AI output throws a red error message, do not just re-prompt with "fix it." Copy the exact error, paste it back to the AI, and ask it to explain what went wrong before generating a fix.
- No testing beyond "it looks right." Clicking through your app once is not testing. You need to try wrong inputs, empty fields, duplicate submissions, and the back button.
- Treating AI output as finished code. The AI gives you a draft. You are the editor. Every generation needs review, even if you cannot read every line.
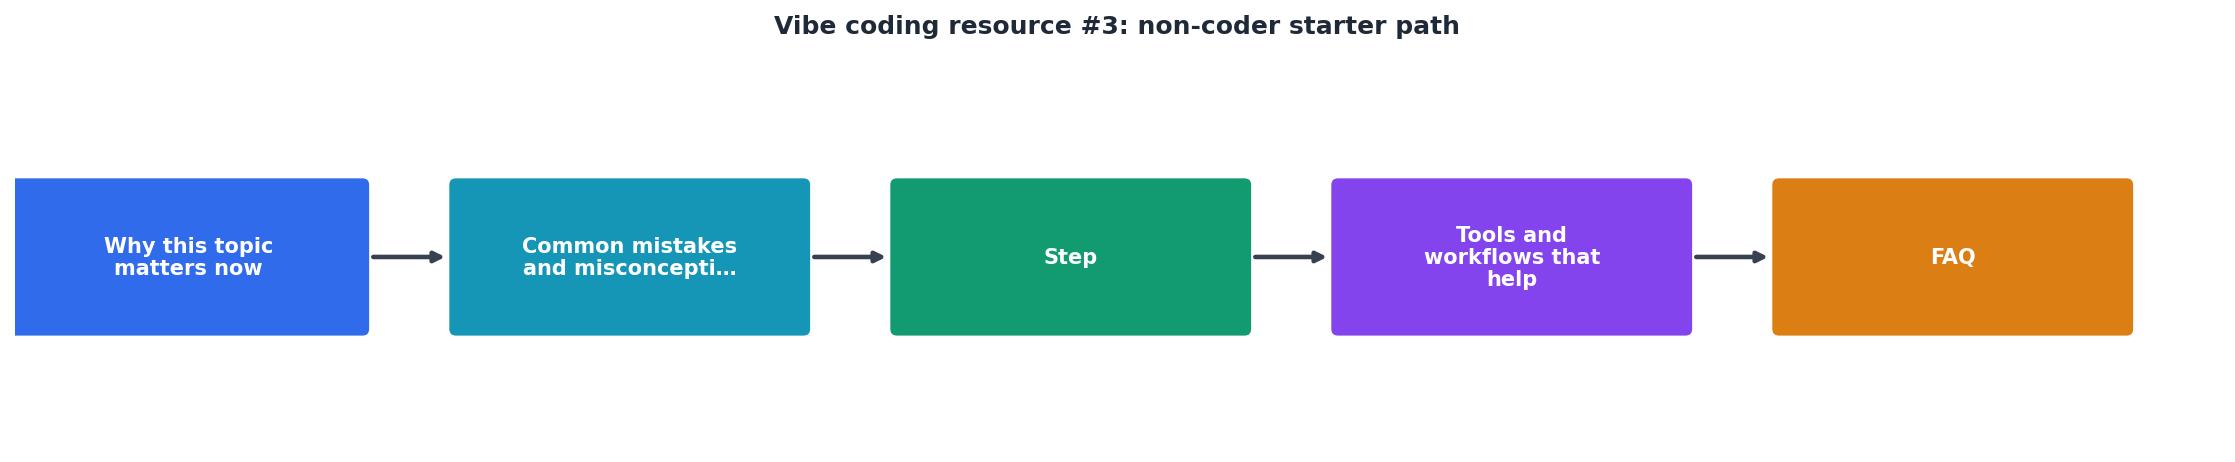
The five-phase starter path

This path takes you from zero to a deployed, working application. Each phase builds on the previous one. Do not skip ahead.
Phase 1: Orient
Spend one to two days here. No code yet.
- Pick your AI tool. For complete beginners, Lovable or v0 offer the lowest friction because they generate full UI from descriptions. Cursor gives more control but assumes you can navigate a code editor. Start with whichever feels less intimidating.
- Define one core user flow. Not the whole app. One flow. Example: "A user signs up, enters their business name, and sees a dashboard with three placeholder cards." Write this in plain English, step by step.
- Install Git and GitHub Desktop. Create a repository. This is your safety net. Every time something works, commit it.
Phase 2: Scaffold
One to three days. You are setting up the skeleton.
- Prompt your AI tool to generate the project structure. For a web app, this typically means a Next.js or React project with a basic folder layout.
- Ask the AI to create a single page that matches your core user flow. Nothing fancy. No styling. Just the structure.
- Run it locally. If you see your page in a browser, commit. If you see an error, paste the error back to the AI and ask for an explanation plus a fix.
Phase 3: Build
One to two weeks. This is where the app takes shape.
- Add one feature at a time. Prompt, review, test, commit. That is the loop.
- For each feature, write a prompt that includes: what the feature does, what data it needs, what happens on success, and what happens on failure.
- Use Supabase or Firebase for your database and authentication. Both have generous free tiers and the AI tools know their APIs well.
- After every three to five features, do a full walkthrough of the entire app. Click everything. Try to break it.
Phase 4: Harden
Three to five days. You are making the app safe and stable.
- Ask the AI to add input validation to every form. Users will type garbage. Your app should handle it gracefully.
- Add error boundaries so the whole app does not crash when one component fails.
- If you have user accounts, ask the AI to review your authentication flow for common vulnerabilities: exposed API keys, missing rate limiting, unprotected routes.
- Run Lighthouse in Chrome DevTools. Fix any critical performance or accessibility issues the AI identifies.
Phase 5: Ship
Two to three days. Deployment and launch.
- Deploy to Vercel or Netlify for frontend apps, or Railway for apps with a backend server. All three support one-click deploys from a GitHub repository.
- Set up a custom domain. Point your DNS. Enable HTTPS (most platforms do this automatically).
- Add basic analytics (Plausible, PostHog, or even simple Vercel Analytics) so you know if anyone is using what you built.
- Share it. Post the link. Get feedback. The first version will be rough. That is expected.
Tools and workflows that help

Here is a practical stack for non-coders starting their first vibe coding project. Every tool listed has a free tier sufficient for building and launching a first product.
| Category | Recommended Tool | Why |
|---|---|---|
| AI Code Generation | Cursor, Lovable, v0 | Generate full components from descriptions |
| Version Control | GitHub Desktop | Visual Git without the command line |
| Database + Auth | Supabase | Postgres database, auth, and storage in one |
| Deployment | Vercel | Push to GitHub, site goes live |
| Error Monitoring | Sentry (free tier) | See crashes before your users report them |
| Analytics | Plausible | Privacy-friendly, simple dashboard |
The following interactive card summarizes a typical non-coder's first project timeline based on the five-phase path. Use it as a rough planning reference:
Non-Coder Project Timeline
What to learn (and what to skip)
Non-coders often ask what they should study. The answer is less than you think.
Learn these concepts (not the syntax, just the concepts):- How a client-server model works: your browser asks a server for data, the server responds.
- What an API is: a structured way for two pieces of software to talk to each other.
- What a database table looks like: rows and columns, like a spreadsheet with rules.
- How environment variables work: secrets your app needs that should never appear in your code.
Algorithms and data structuresDesign patternsLow-level language featuresDevOps and container orchestration
The Vibe Coding Bible at vibecodingbible.org covers each of these concepts in depth, specifically for builders who are shipping with AI rather than studying computer science theory.
Non-Coder Starter Path Checklist
Your progress is saved automatically in your browser.
FAQ
Frequently Asked Questions
What was the first thing you tried to build with an AI coding tool, and where did you get stuck? Share your experience so others on the same path can learn from it.
Additional Resources
- A Comprehensive Guide to Vibe Coding Tools - 3. Lovable.dev Probably the most user friendly for non-coders and low coders, One of the early starters in the vibe coding space,
- No 44. Vibe Coding Workflow for Non-Programmers - Step 1: Set the Vibe (Not the Spec) don't start with implementation details. Start with the feeling. Step 2: Don't Overthink — Throw It to AI ...
- I Tried 5 Vibe Coding Tools as a Non-Coder. Here's My ... - Replit has a free starter plan, #3 Bolt: The Fastest Builder on the Block Bolt.new is known for its speed, generating working prototypes in ...
Ready to Master Vibe Coding?
Learn to build software faster with AI assistance using the Vibe Coding Bible.
Get Started